
Select merchant in the authorization page
Since our users can have permissions on multiple stores. For example, a user can be a store owner of its own store or a store helper to another store. So when you redirect a user to authorization page, we need to identify what store does this user represent in this operation.
This guide describes the mechanism of how do we get this store information and what should you provide
Mechanism
When you redirect user to authorization page, user is redirected to the following link:
As you can see, the above uri does not contain the information of the store. We recommend your add merchant_id or merchant handle into the above uri with query param like below:
Merchant ID example
Merchant handle example
If you do not provide merchant_id or merchant_handle in the uri, the following will happens
-
We will show the following merchant selection page to the user. This page will show what possible merchants this user can choose
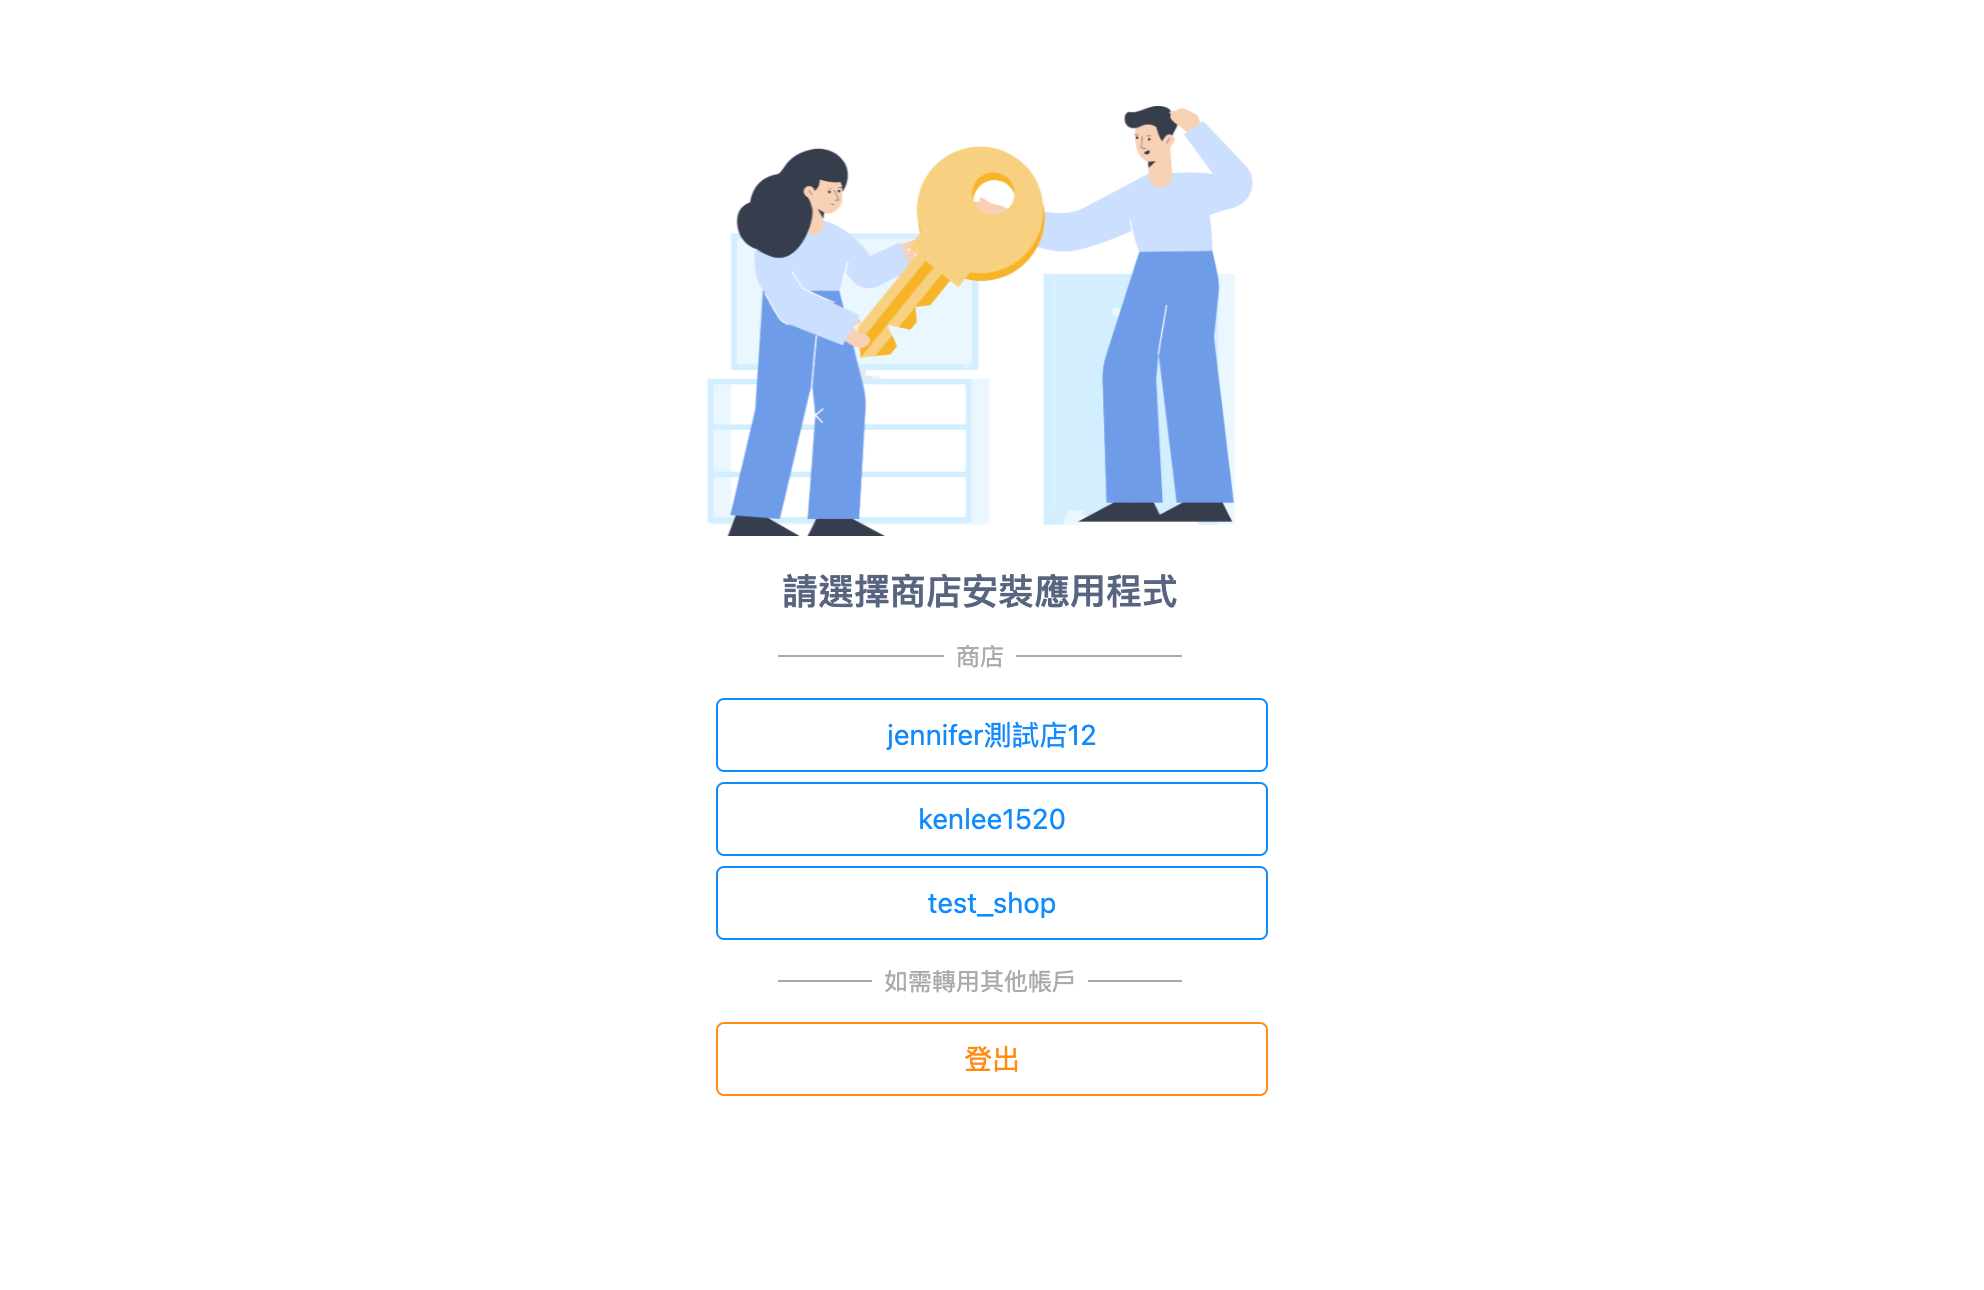
-
after the user has chosen the targeted merchant in the list, the user will be redirected to the following authorization page again with a extra query param of
merchant_id
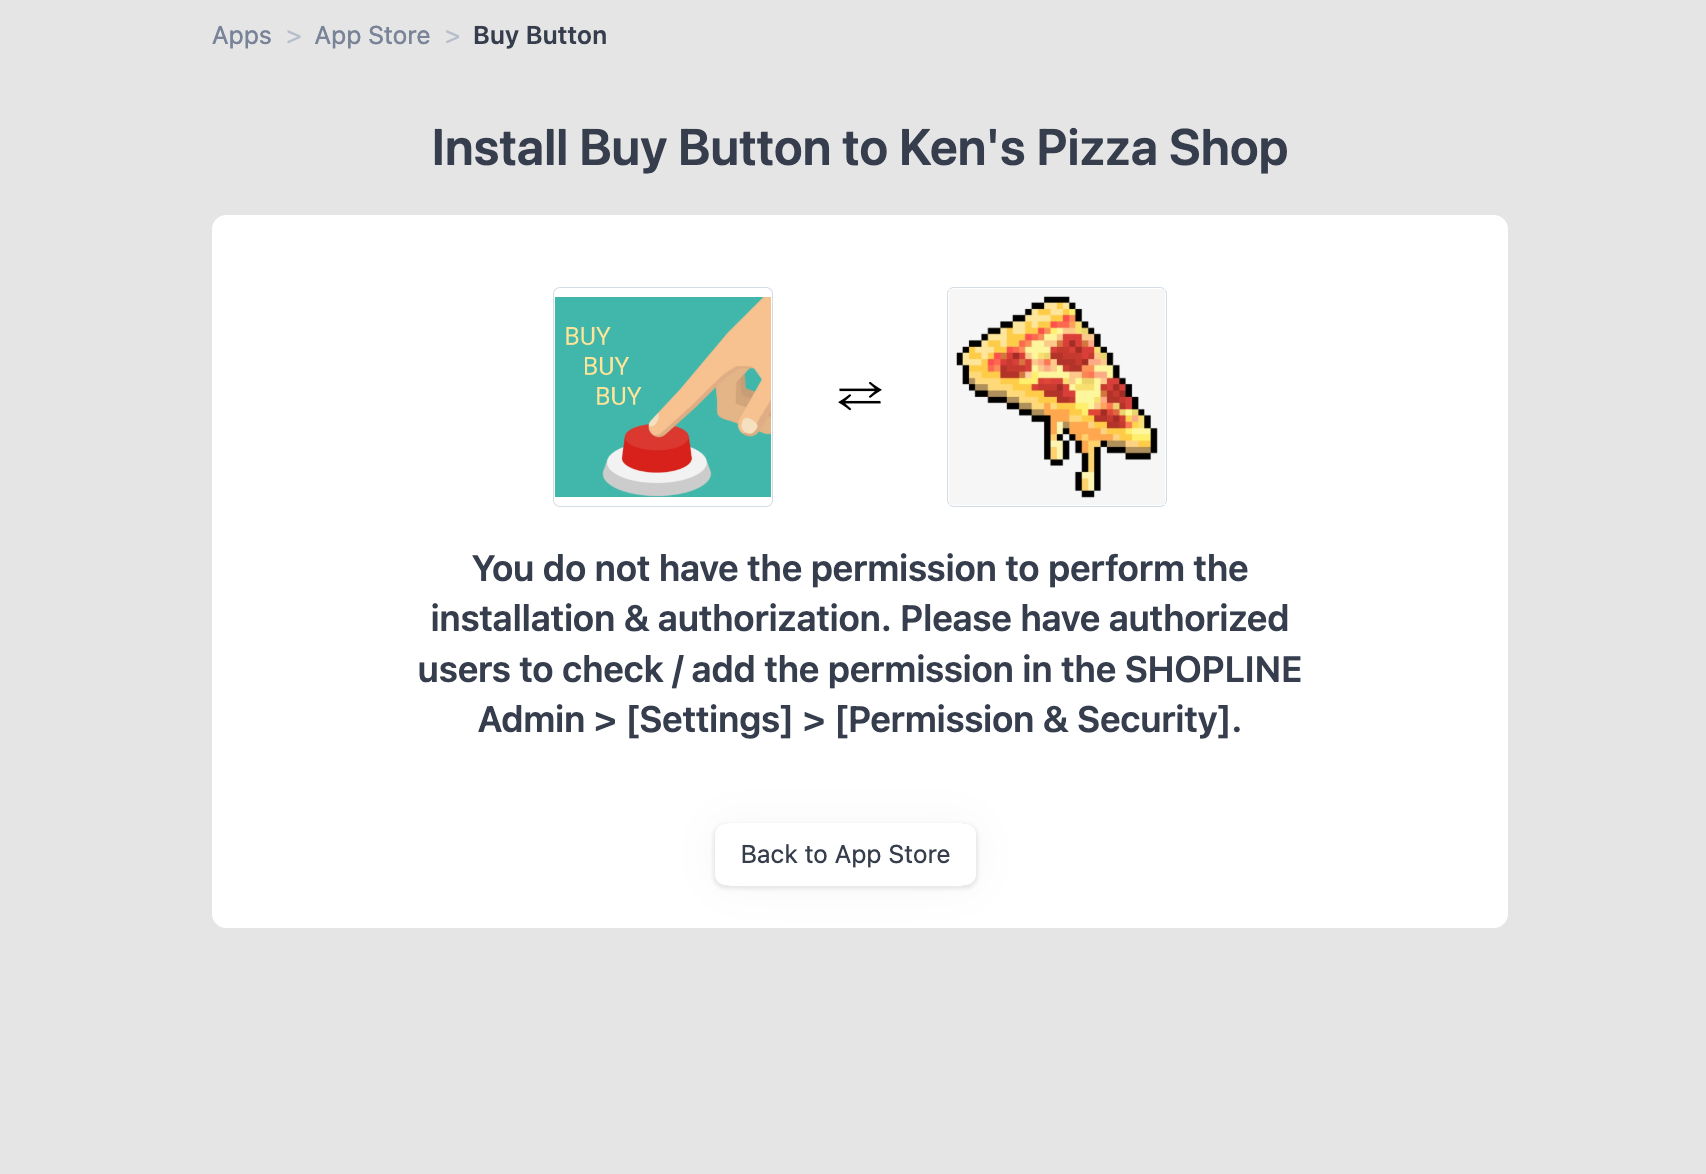
Permission Control
Sometimes the user will happen to select a merchant which the user does not have permission to install an app to that merchant. We will show the following page to warn the user after the user has selected a merchant.
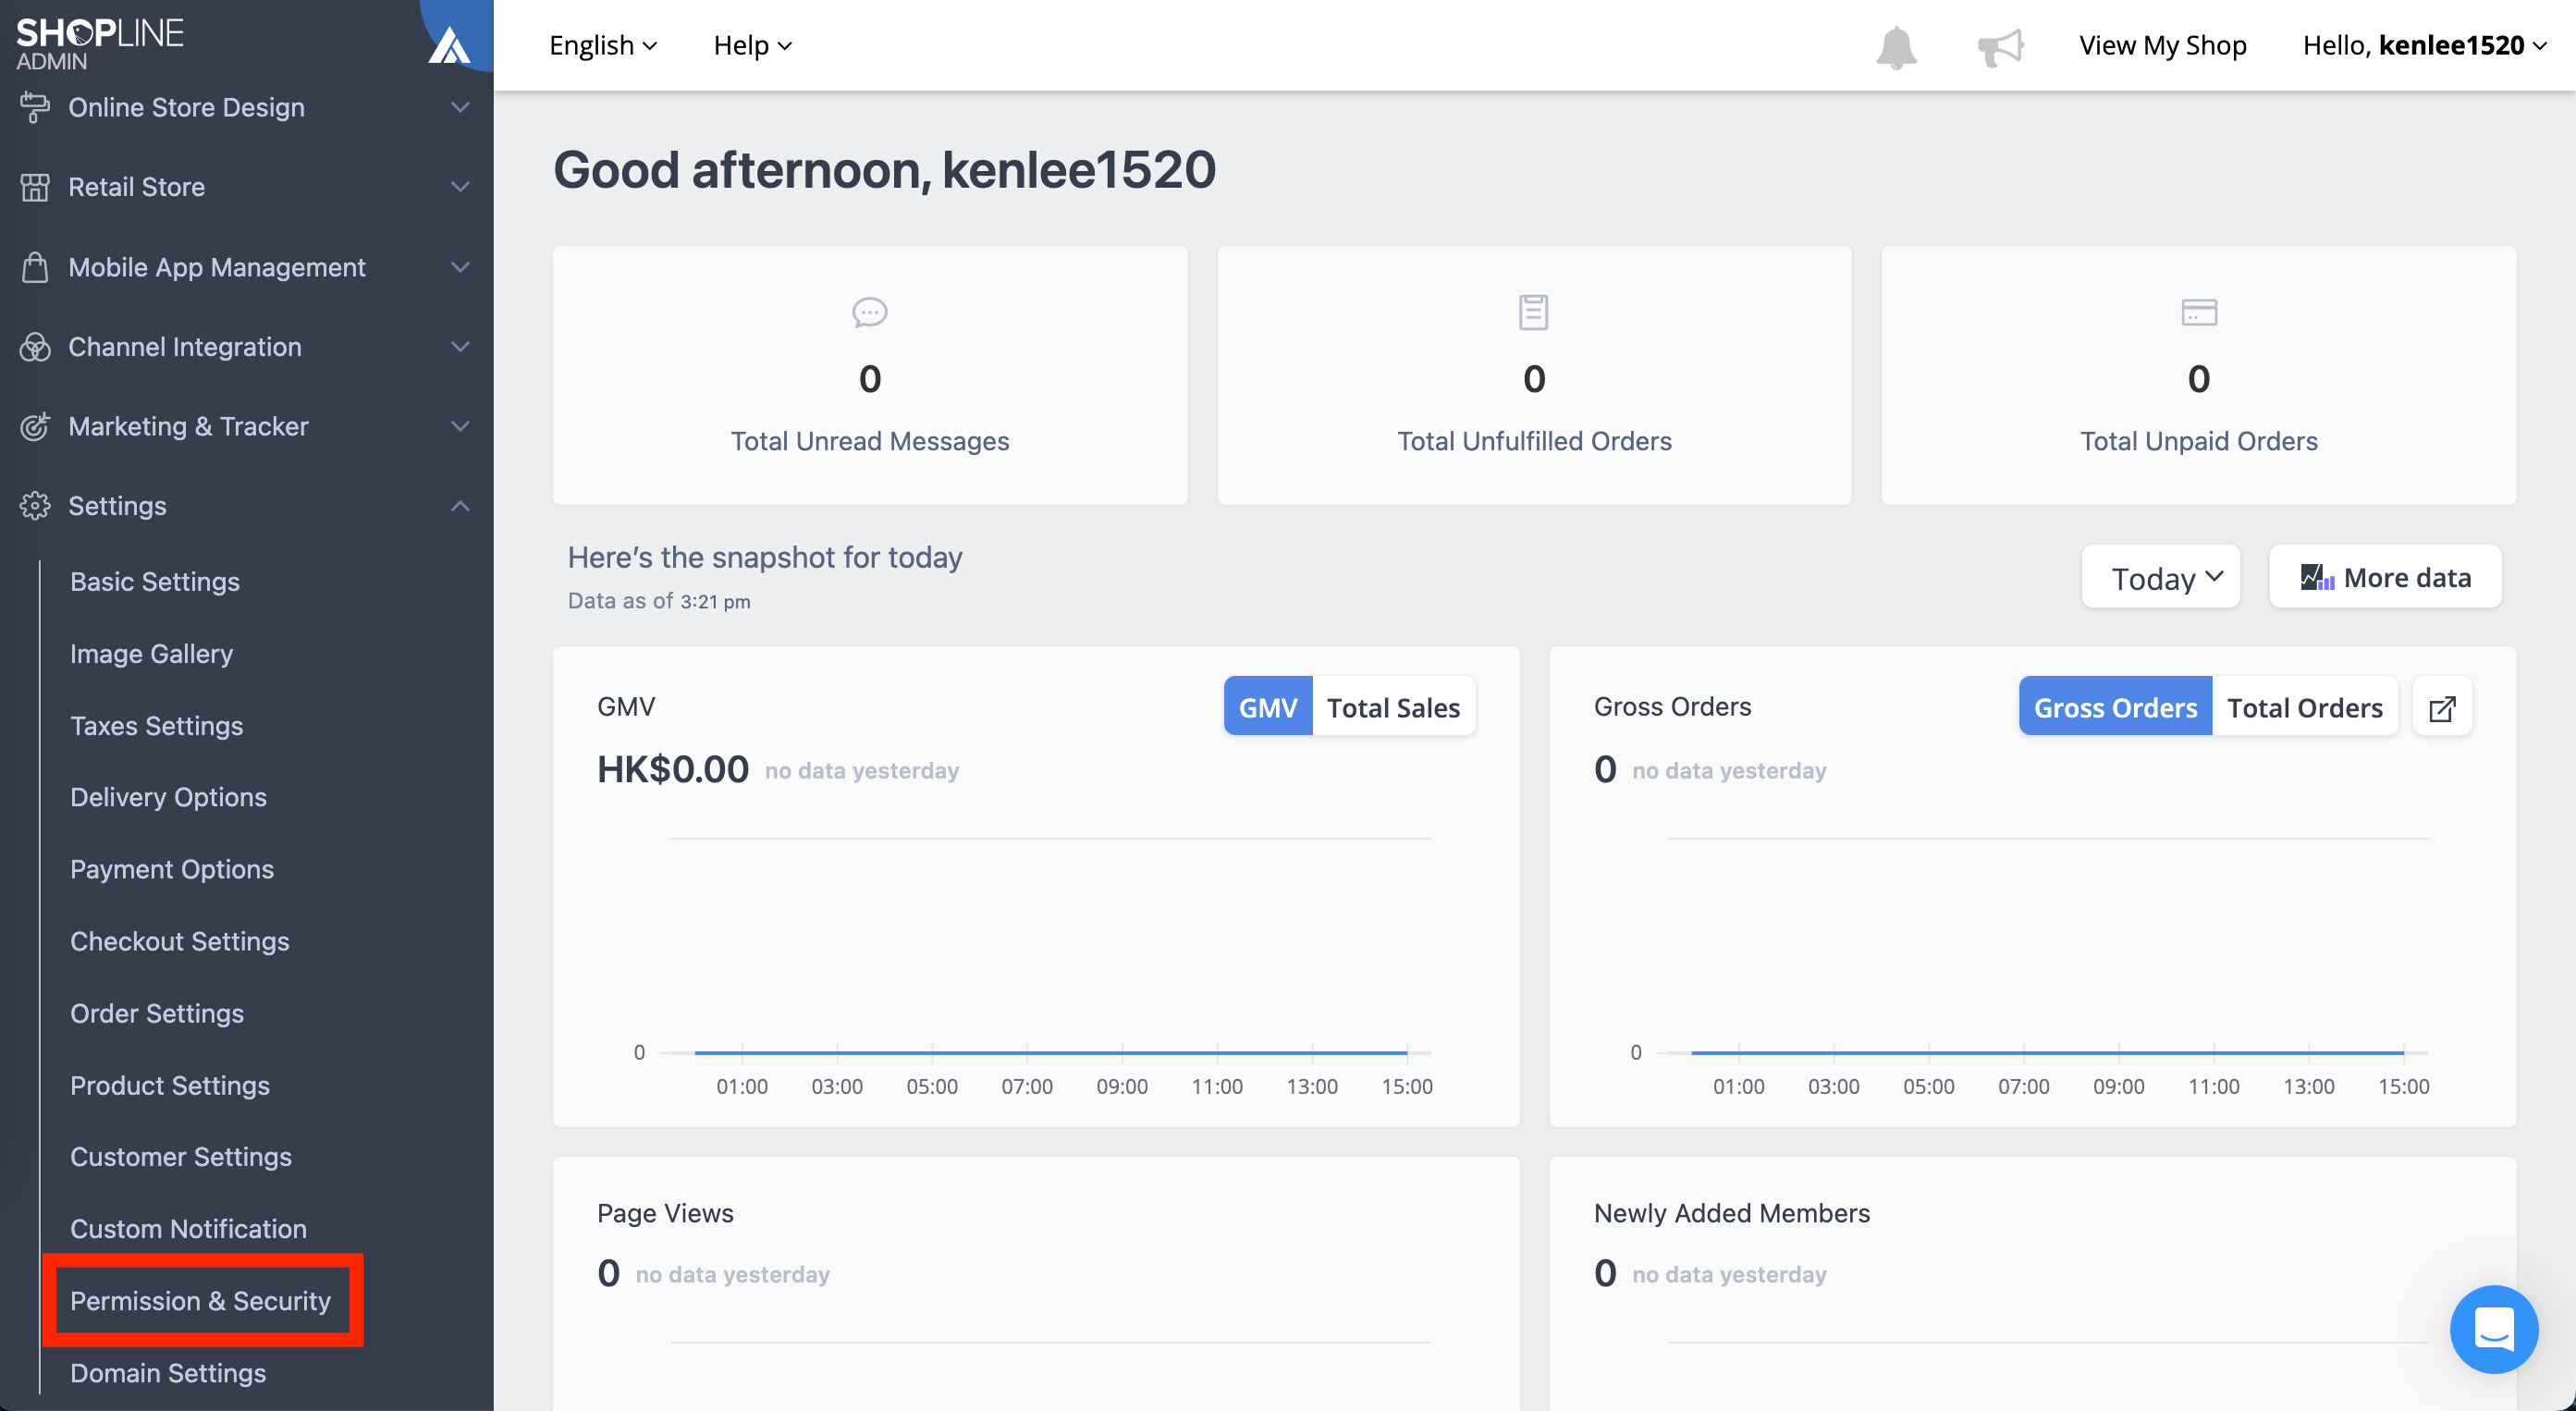
The following describes how does one store owner grants app installation permission to another store helpers


Updated 8 months ago